
ComfyUI安装笔记
1.安装docker镜像
>> sudo docker pull nvidia/cuda:12.4.0-devel-ubuntu22.04
2.启动容器并安装环境
- (1) 启动docker容器
>> sudo docker run -it --name comfyui --ipc=host --shm-size 32g  \
   --privileged=true --cap-add=SYS_PTRACE -p 9301:9301           \
   -v /home/mirror/workspace:/root/workspace                     \
   --gpus all nvidia/cuda:12.4.0-devel-ubuntu22.04 bash
- (2) 安装Minianaconda,并安装torch环境
>> pip install torch==2.5.1 torchvision==0.20.1 torchaudio==2.5.1 -f https://mirrors.aliyun.com/pytorch-wheels/cu124/
- (3) 安装ComfyUI依赖包
>> git clone git@github.com:comfyanonymous/ComfyUI.git
>> cd ComfyUI && pip install -r requirements.txt
3.启动服务
>> python main.py --listen 0.0.0.0 --port 9301
Checkpoint files will always be loaded safely.
Total VRAM 22906 MB, total RAM 257588 MB
pytorch version: 2.5.1+cu124
Set vram state to: NORMAL_VRAM
Device: cuda:0 Tesla P40 : cudaMallocAsync
Using pytorch attention
Python version: 3.10.16 (main, Dec 11 2024, 16:24:50) [GCC 11.2.0]
ComfyUI version: 0.3.34
ComfyUI frontend version: 1.19.9
[Prompt Server] web root: /root/software/miniconda3/envs/hunyuan/lib/python3.10/site-packages/comfyui_frontend_package/static

Import times for custom nodes:
   0.0 seconds: /root/workspace/ComfyUI/custom_nodes/websocket_image_save.py

Starting server

To see the GUI go to: http://0.0.0.0:9301
打开网页即可:
http://0.0.0.0:9301
4.运行示例
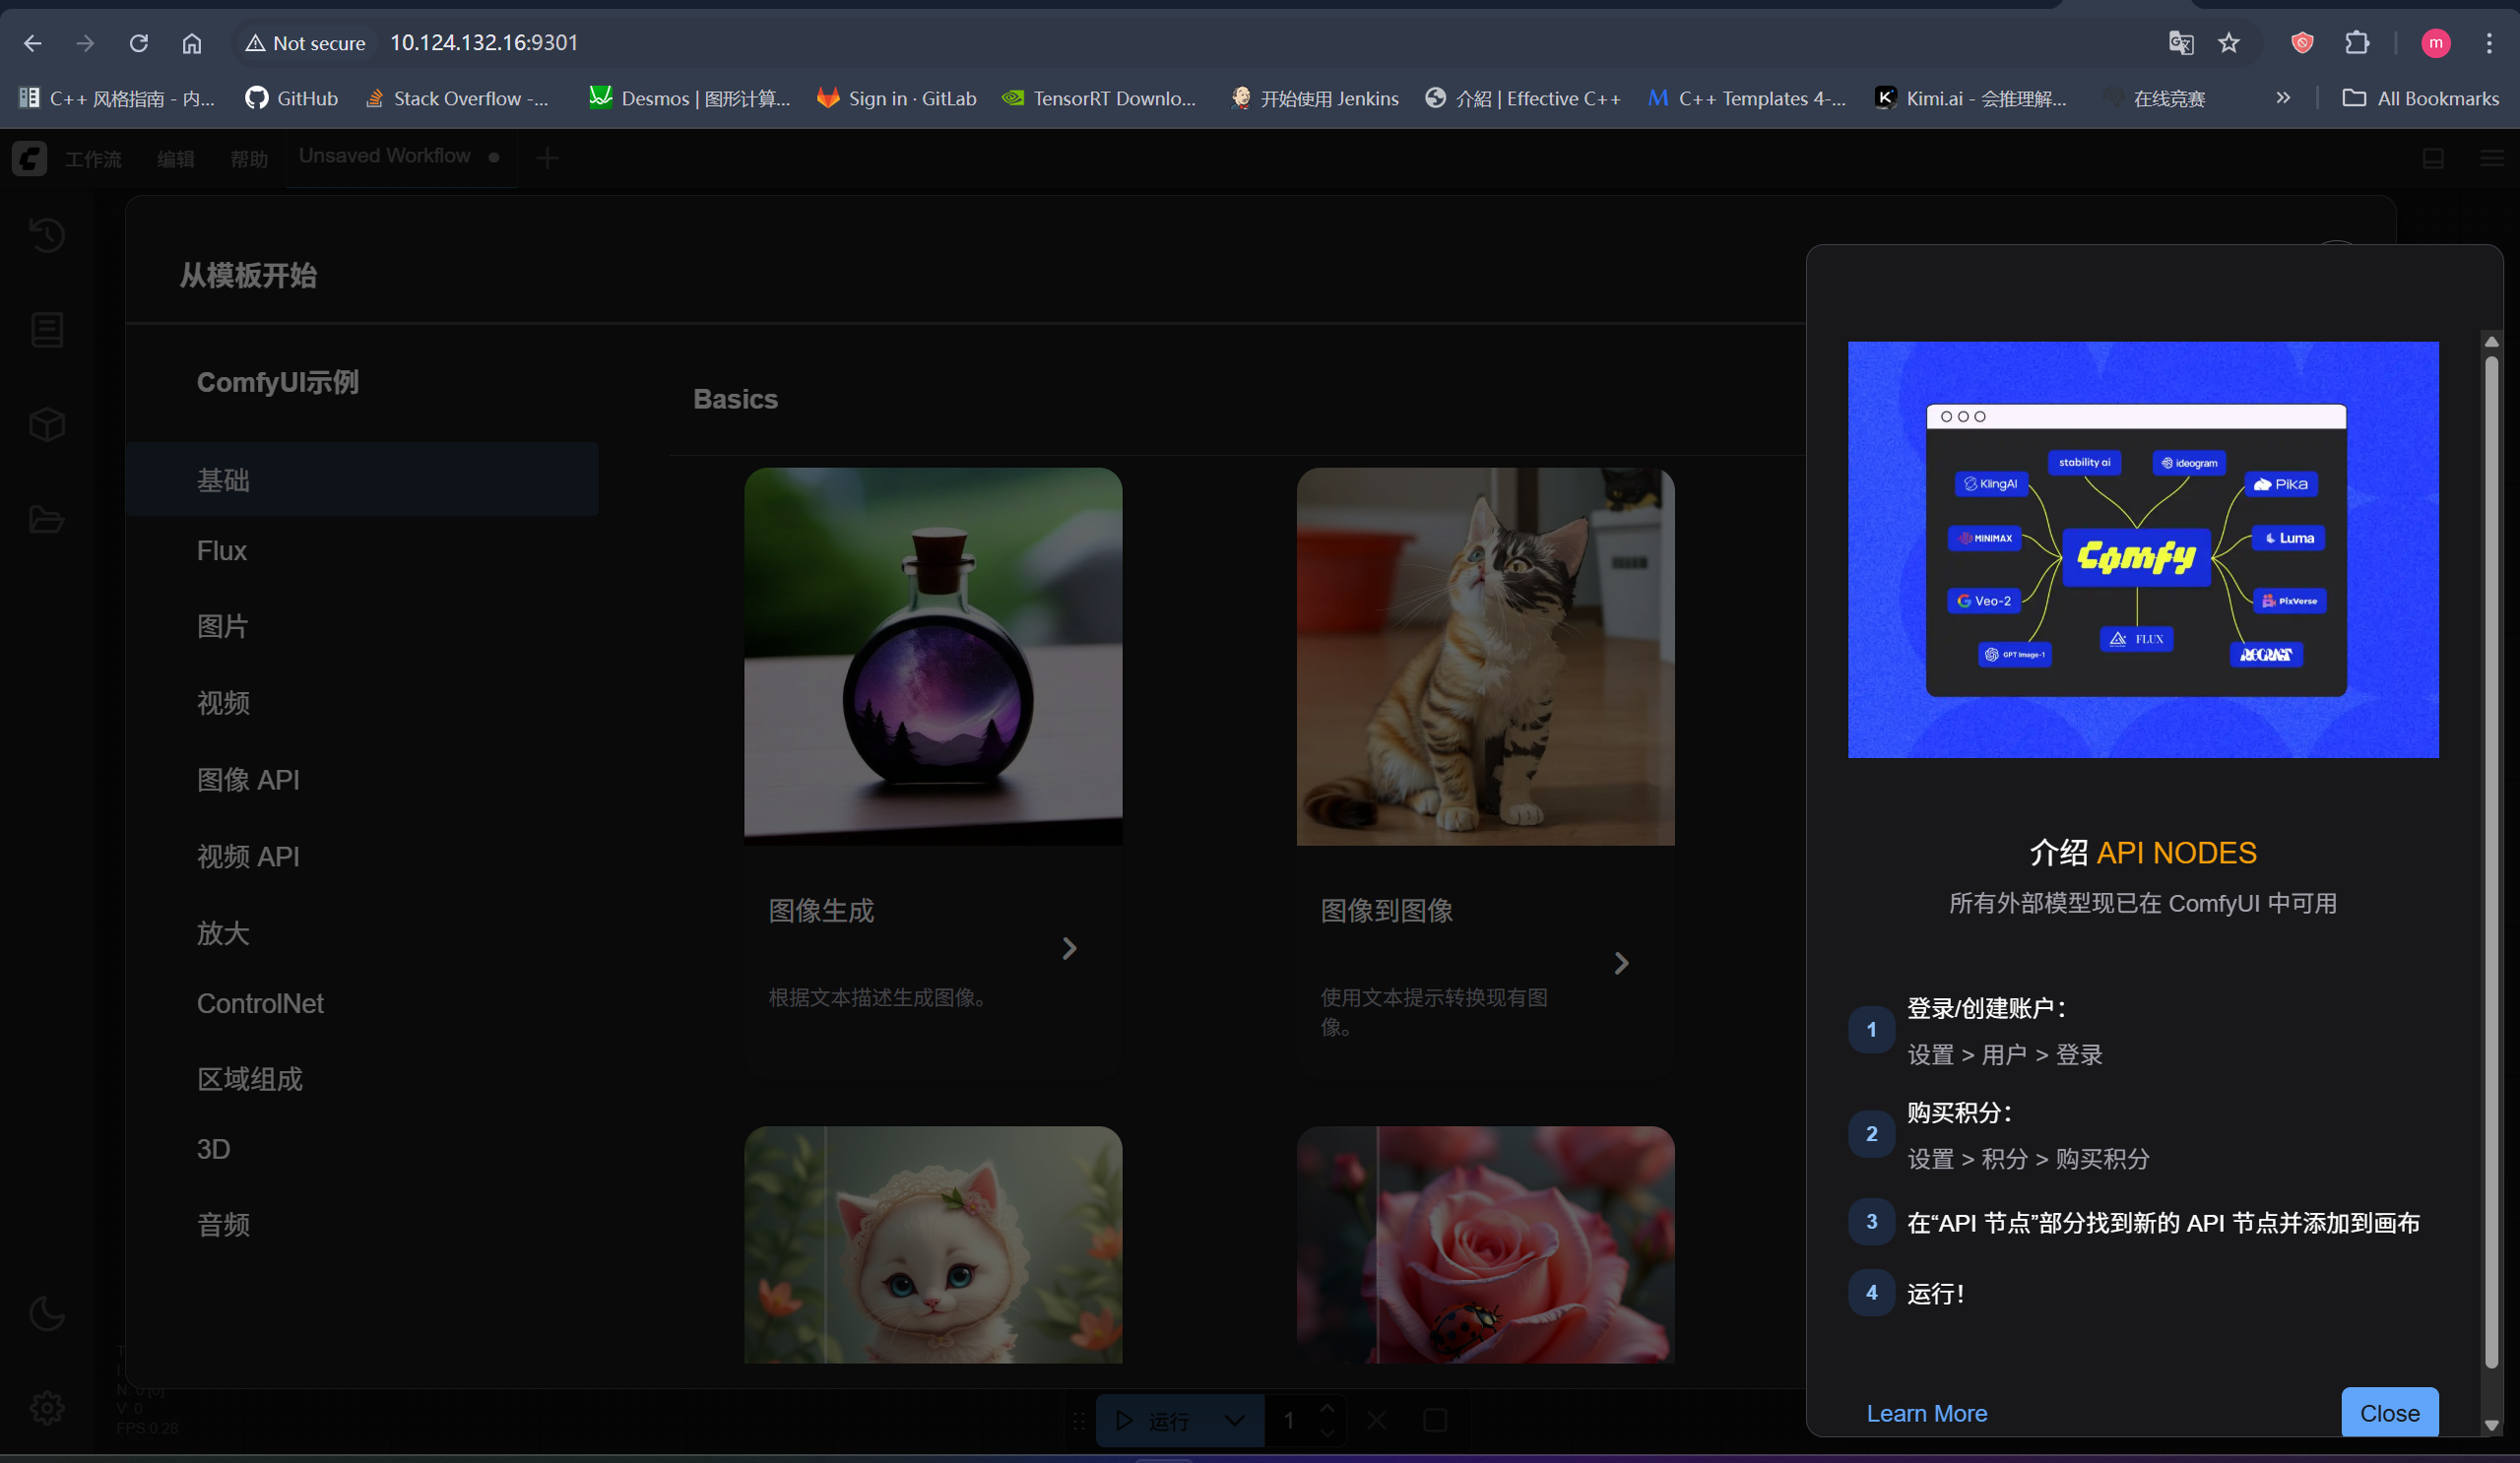
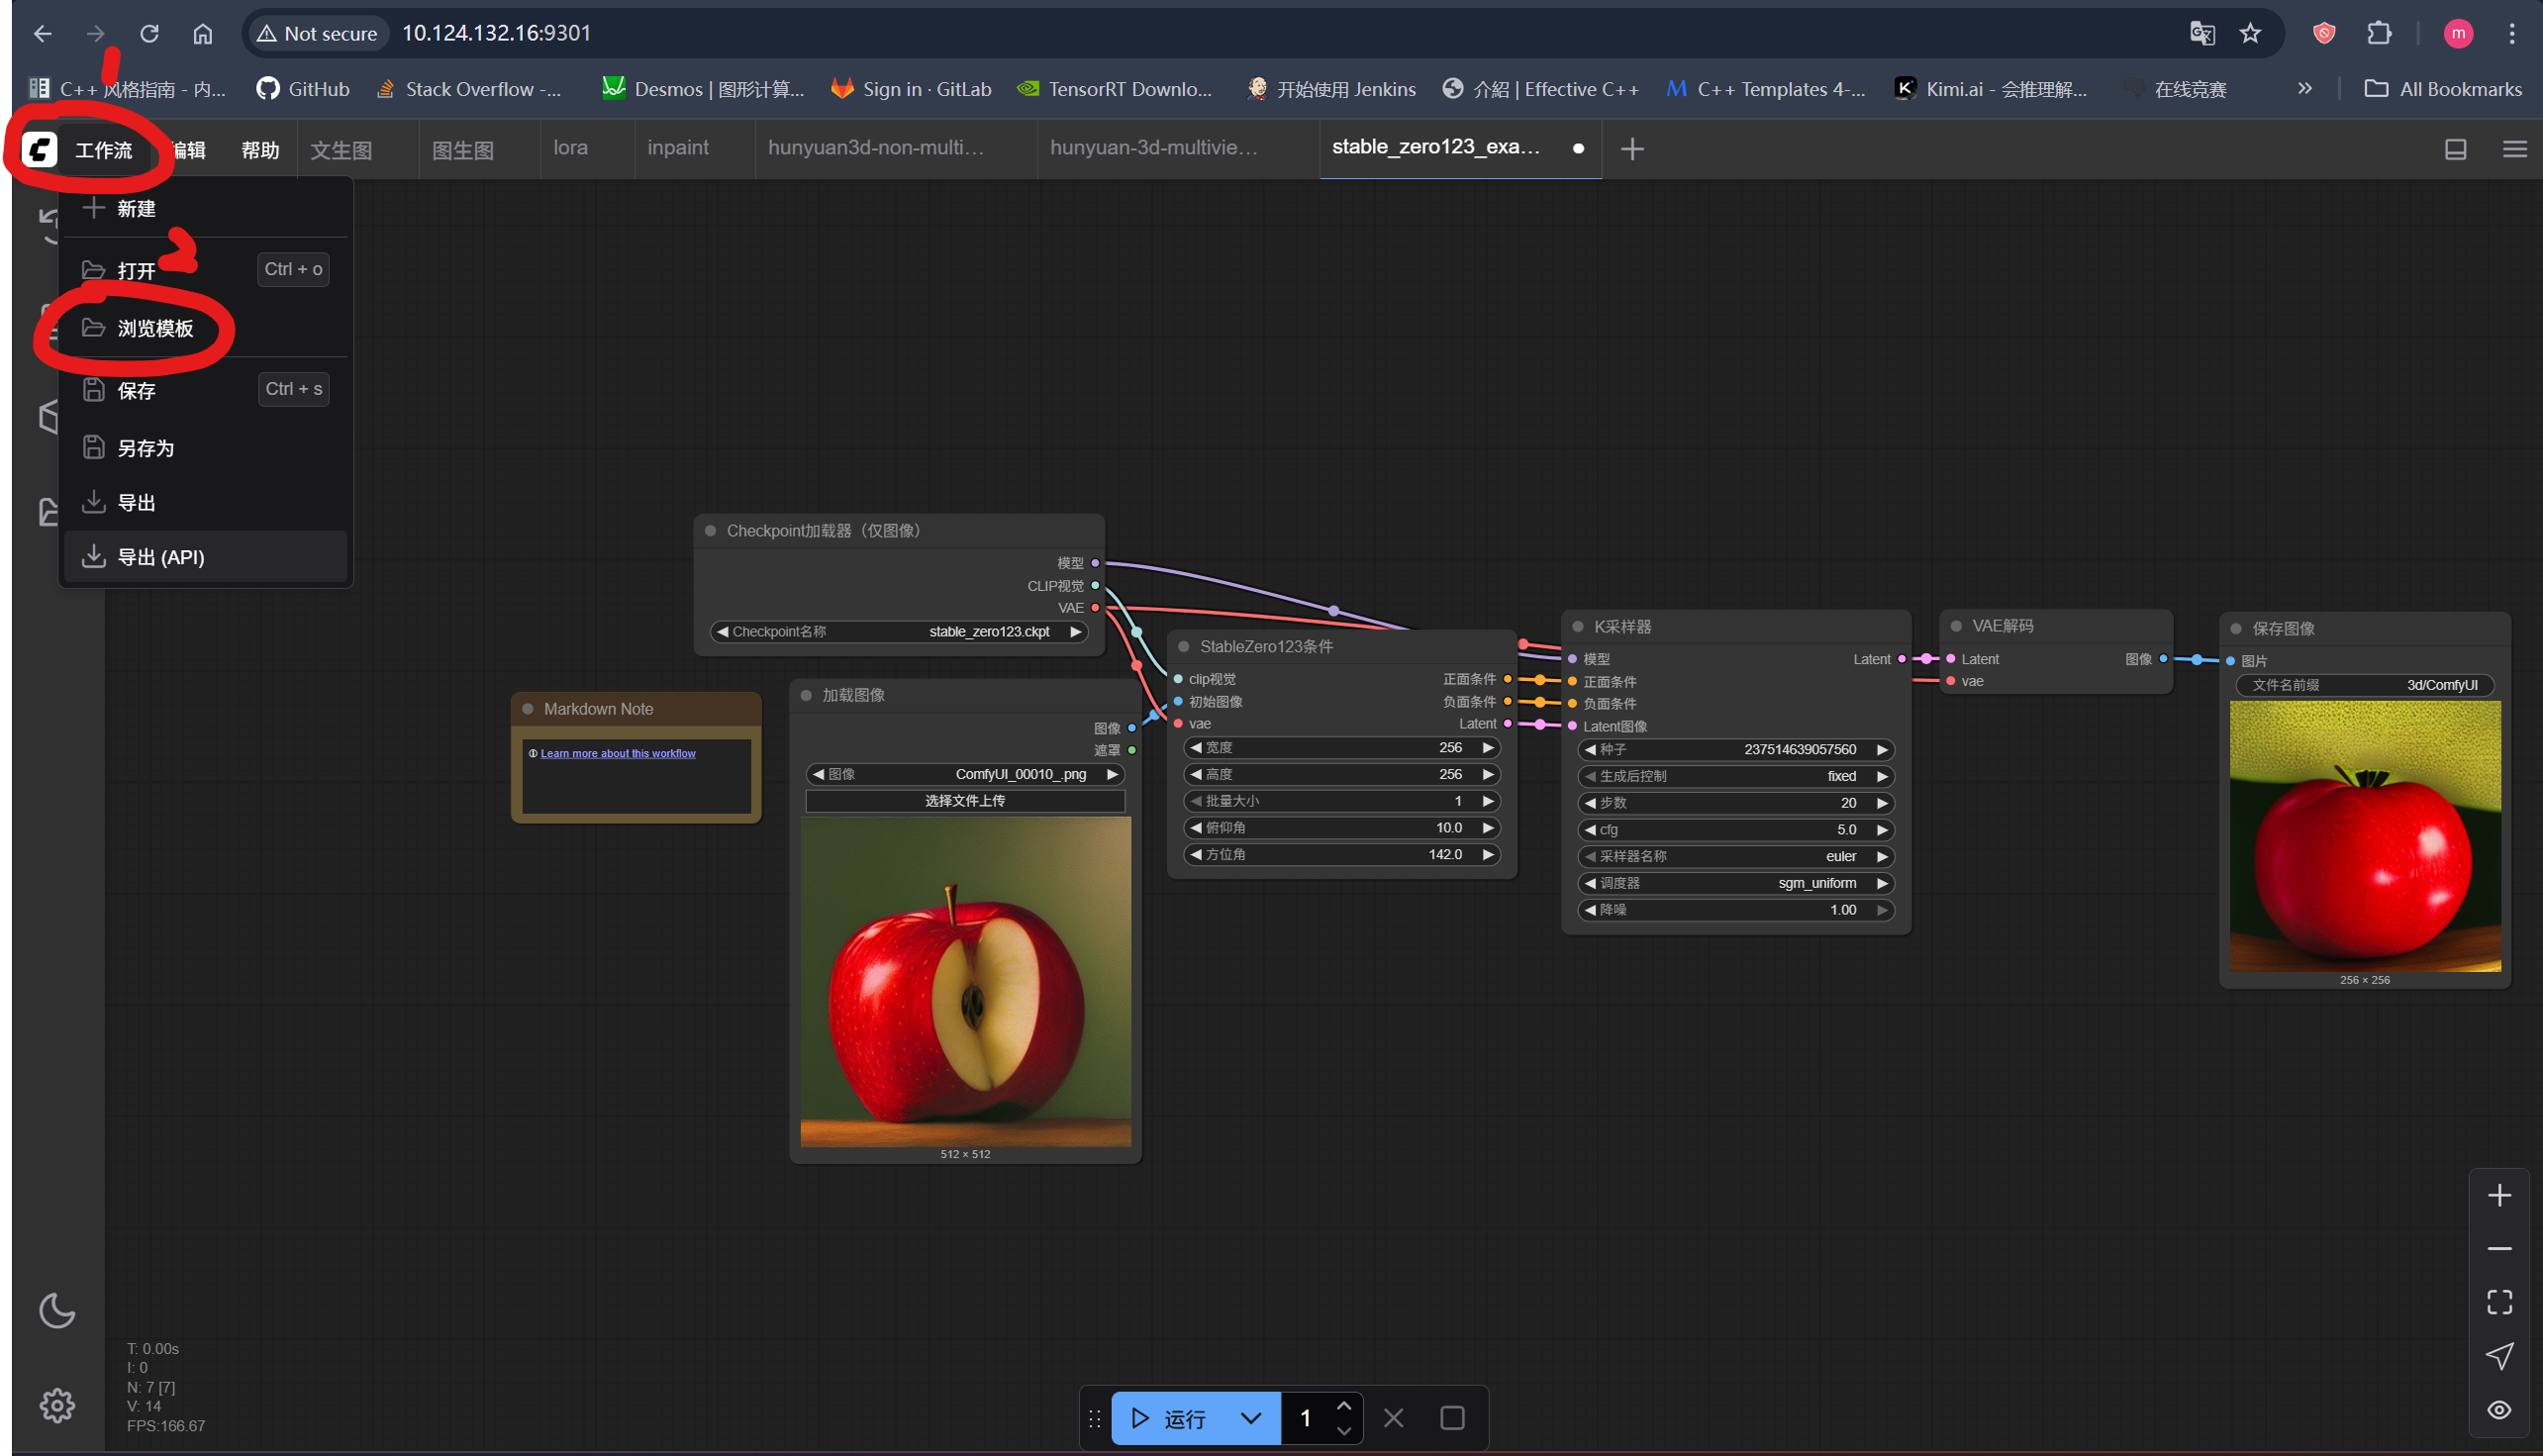
- (1) "工作流" -> “浏览模板”:
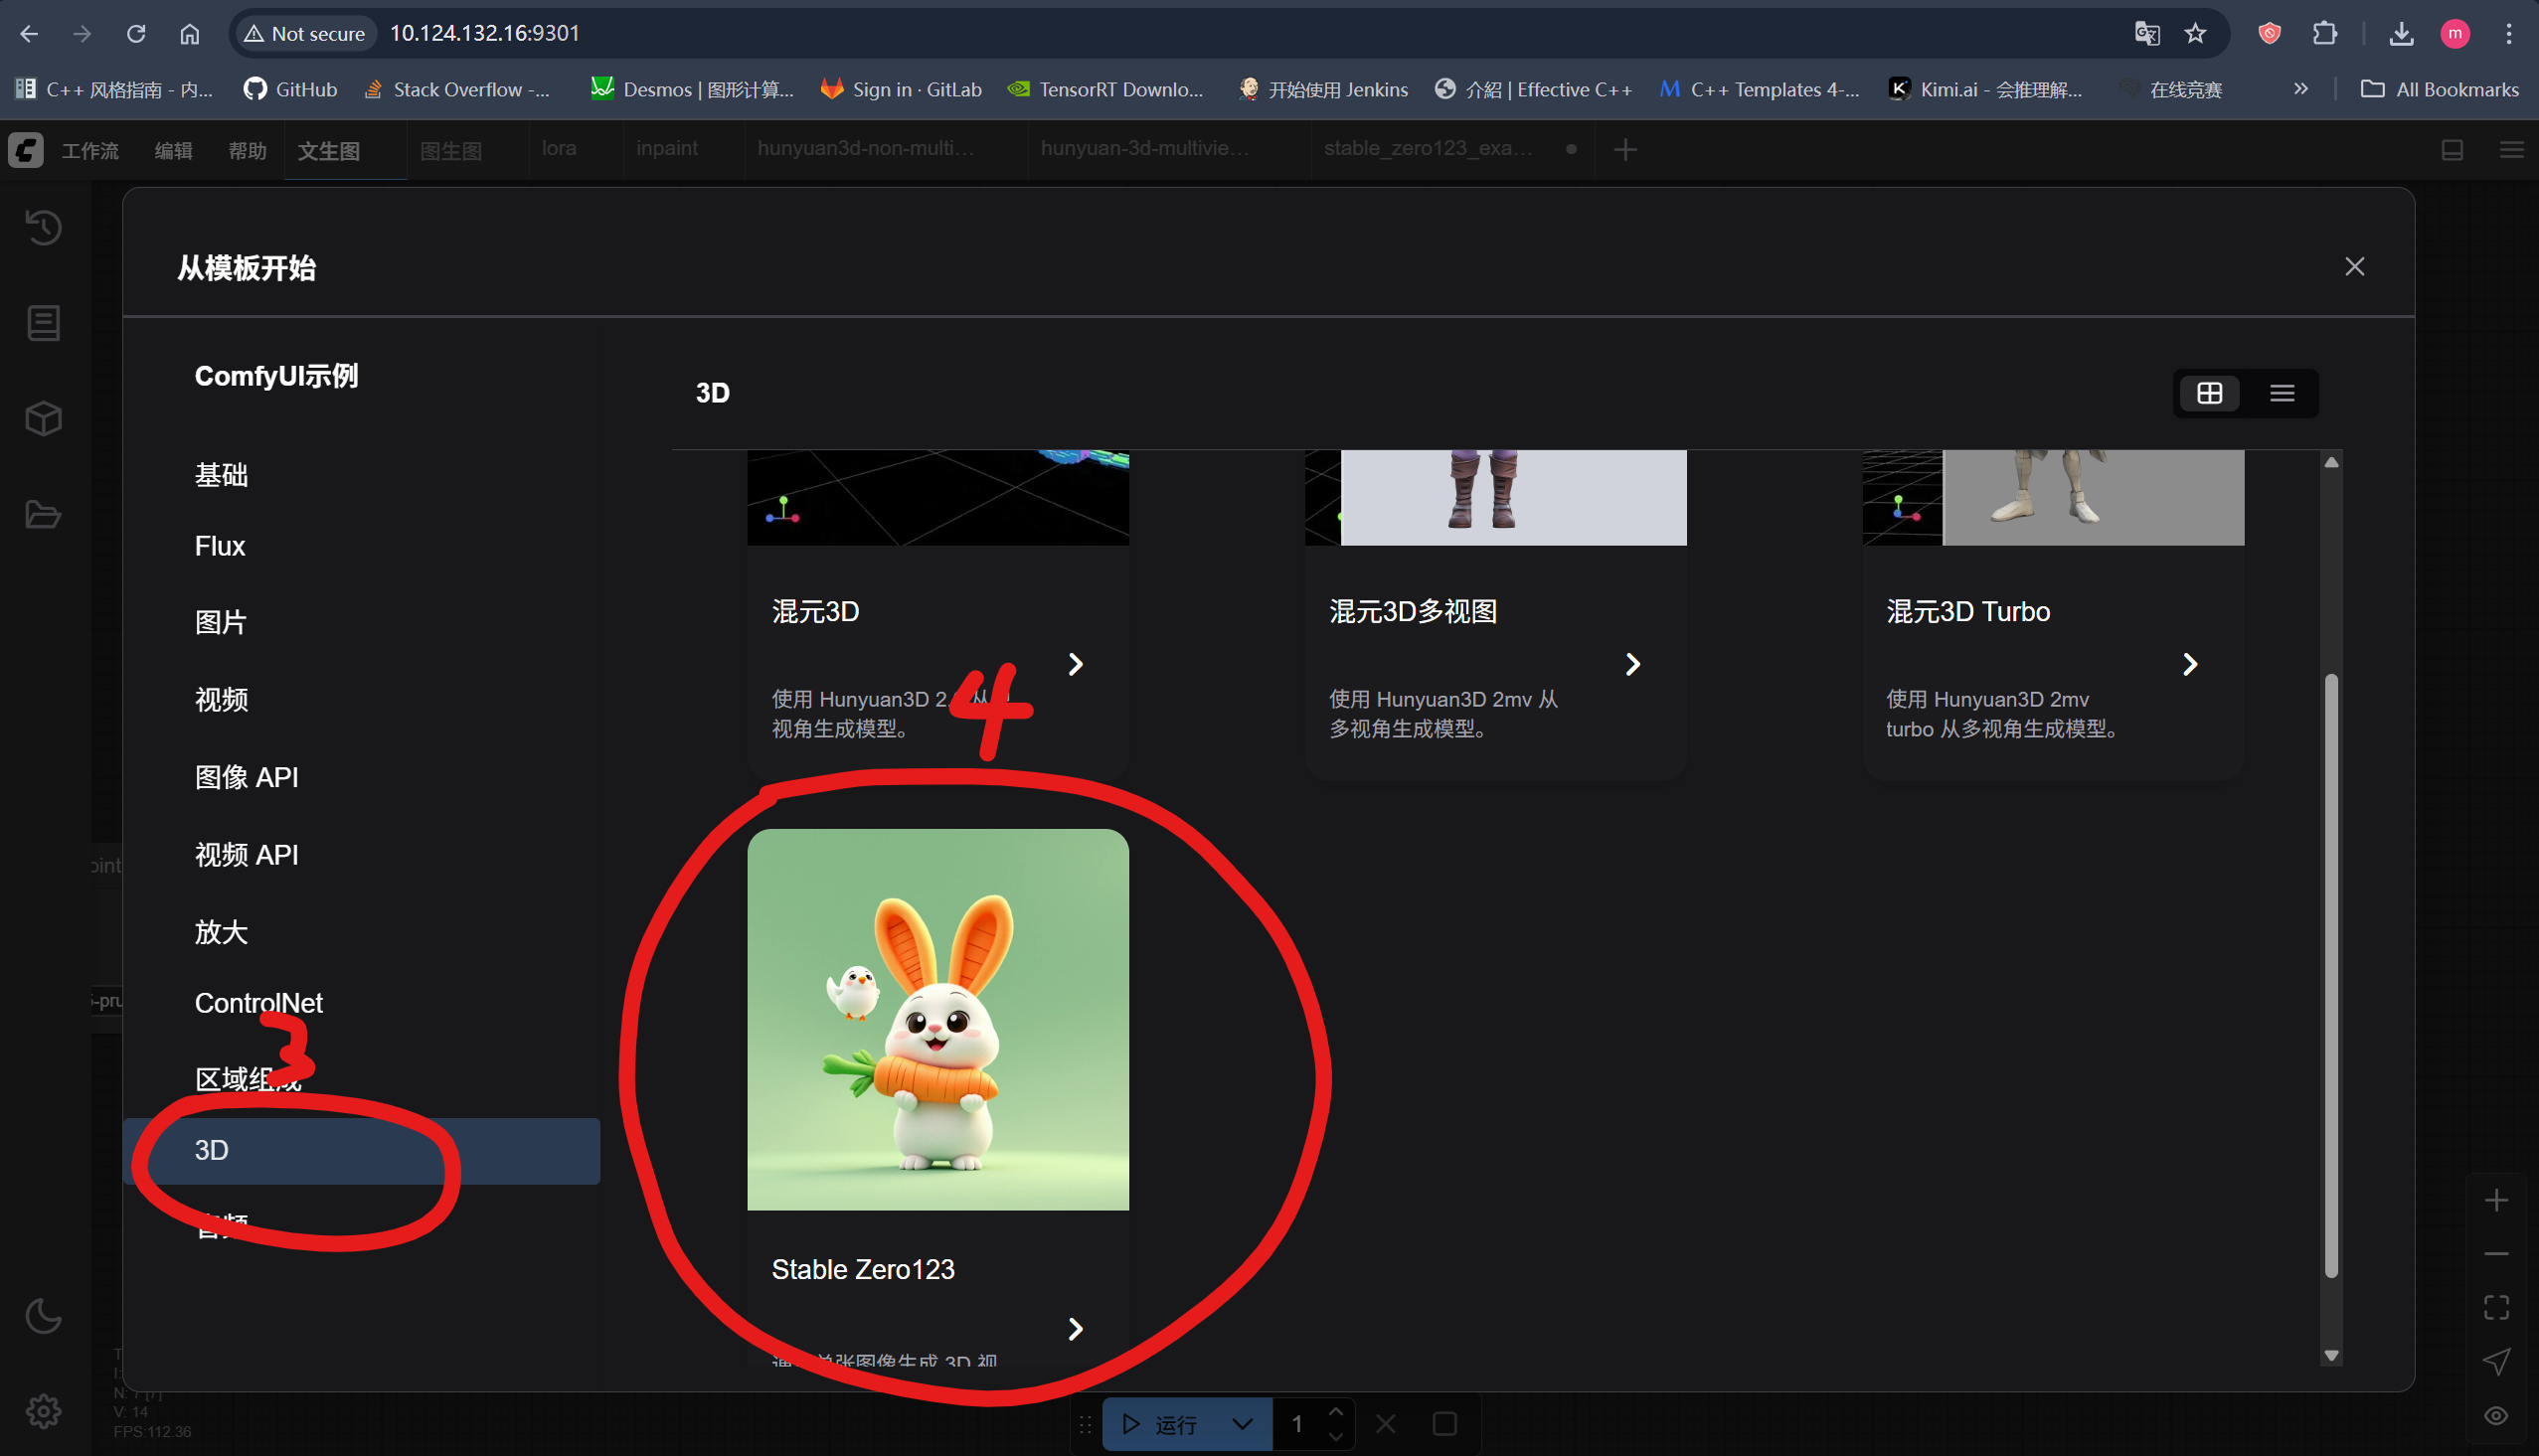
- (2) 选择具体模板,例如3D:"3D" -> "Stable Zero123":
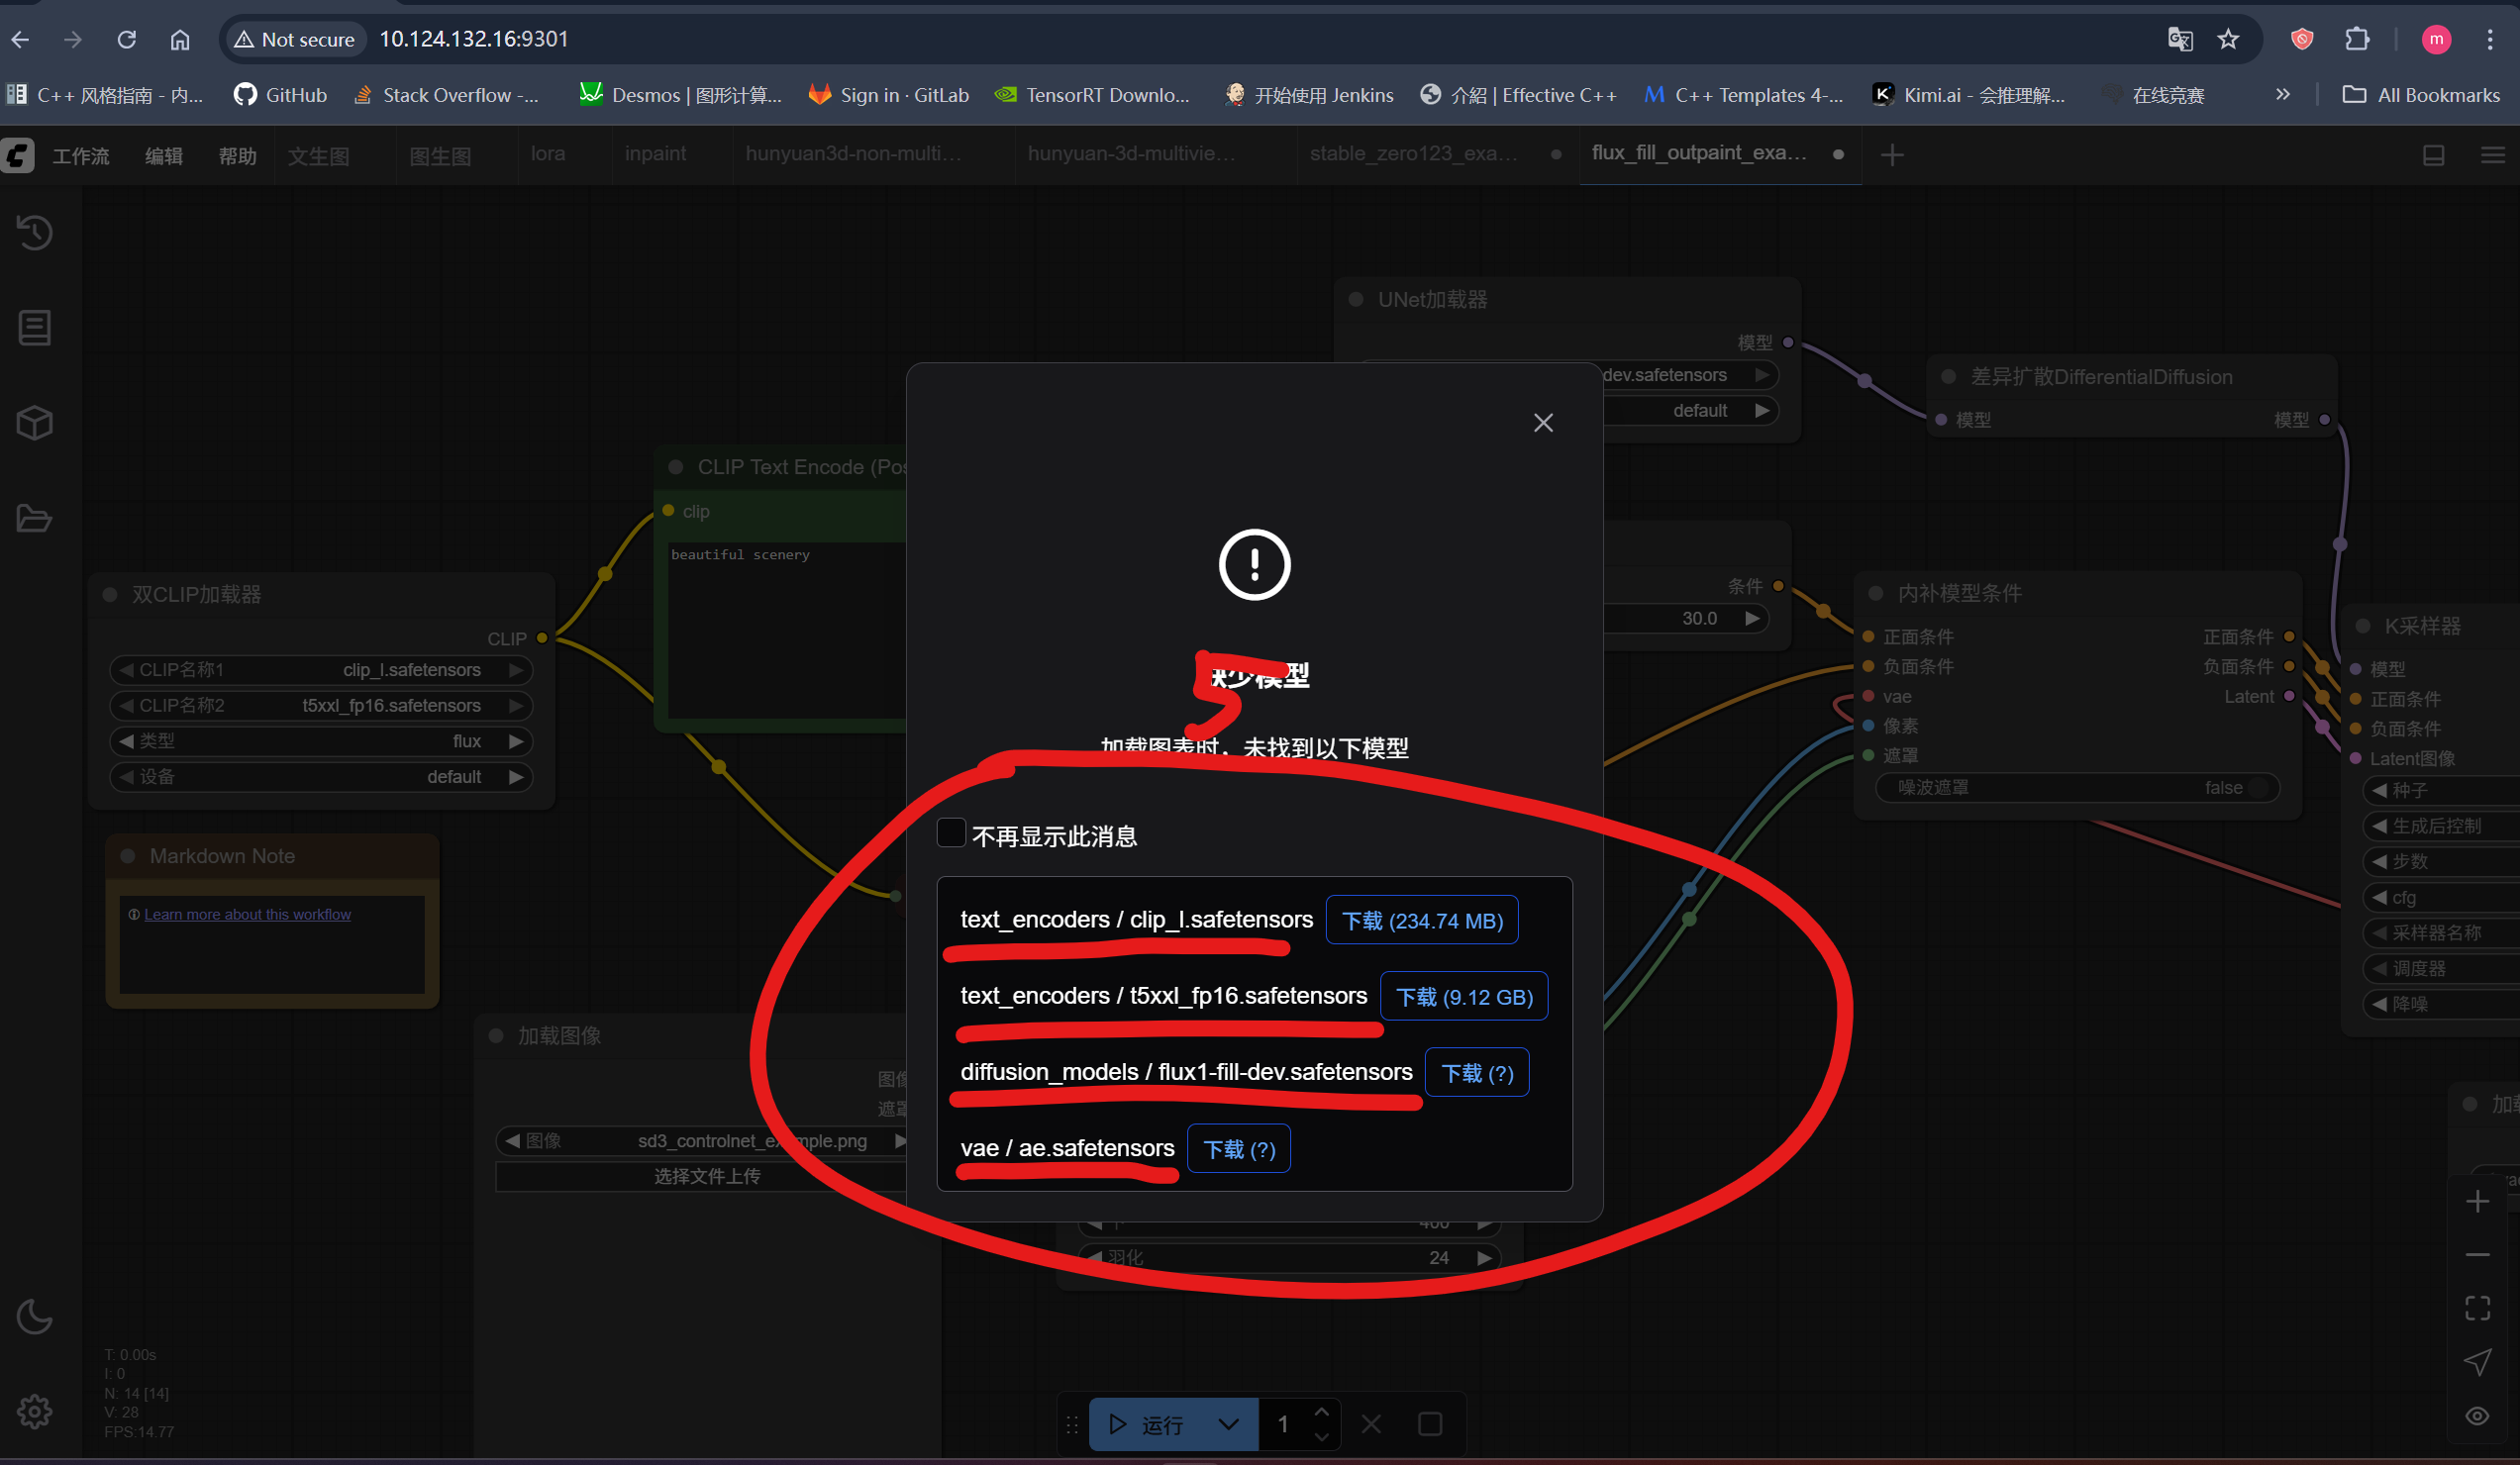
- (3) 根据提示下载模型,并放到对应路径:
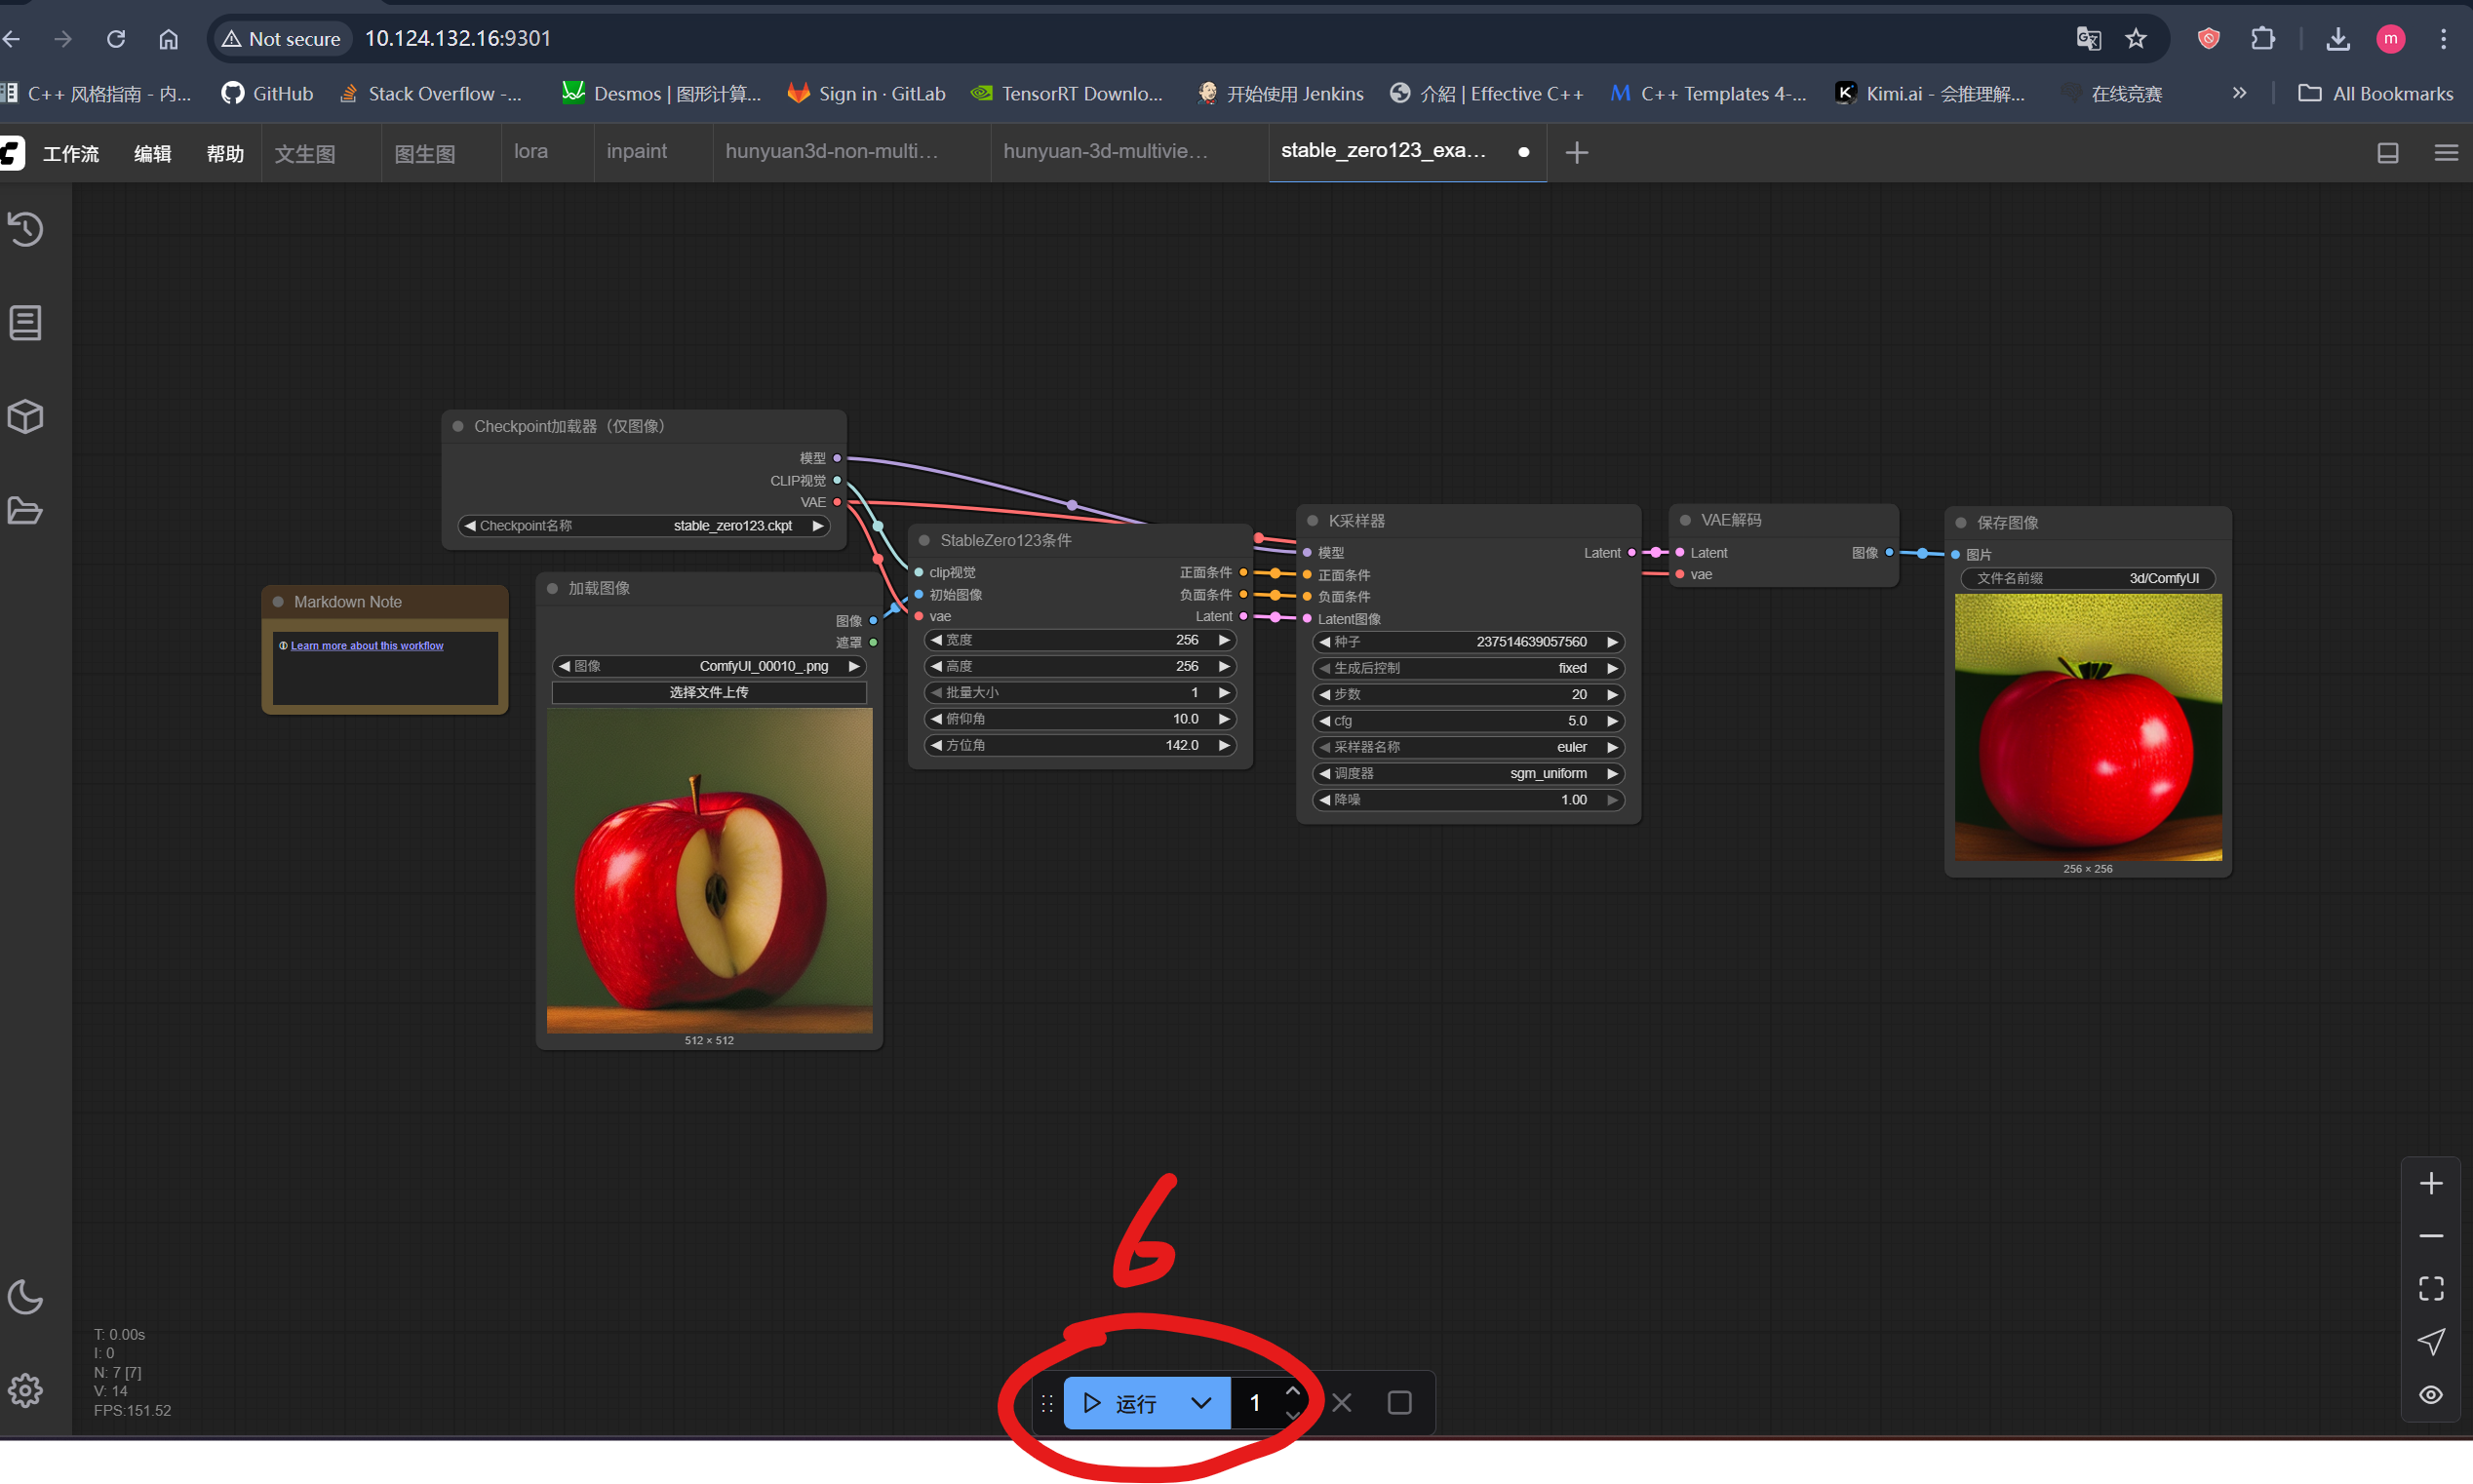
- (4) 运行工作流:
参考资料
- [1] comfyui操作手册